Quickstart
Hydron is an AI coding assistant for embedded, robotics, and UAV engineers, available as a VS Code Extension for graphical workflows and inline edits, or a Terminal CLI for keyboard-first or headless setups. Both share the same context engine, agent modes, and hardware integrations.
This guide takes you from installation to your first hardware-aware prompt.
Pick your surface:
- VS Code Extension: inline diffs, code lenses, and a graphical serial monitor inside your editor.
- CLI: headless or SSH setups, scripting workflows, or terminal-first development.
Before you begin
Because Hydron grounds its AI in your specific hardware and software constraints, it needs real context to work with. Make sure you have:
- An active codebase: Open an existing C/C++, RTOS, ROS, or bare-metal project.
- A terminal emulator: Only required if you are installing the headless CLI.
System Requirements
- Editor: VS Code v1.80.0 or newer.
- OS: Windows 10/11, macOS 12+, or modern Linux.
- OS: macOS, Linux, or Windows (PowerShell).
- Terminal: any modern terminal emulator.
Step 1: Installation
The extension adds an integrated serial console and hardware-aware chat to VS Code.
- Open your project in VS Code.
- Open the Extensions view:
Ctrl+Shift+X(Windows/Linux) orCmd+Shift+X(macOS). - Search for Hydron and click Install.
Or from the command line:
Step 2: Authenticate
Open the Hydron chat pane and click Login with Hydron. The sign-in page opens in your browser. The browser shows Authentication Complete when done.
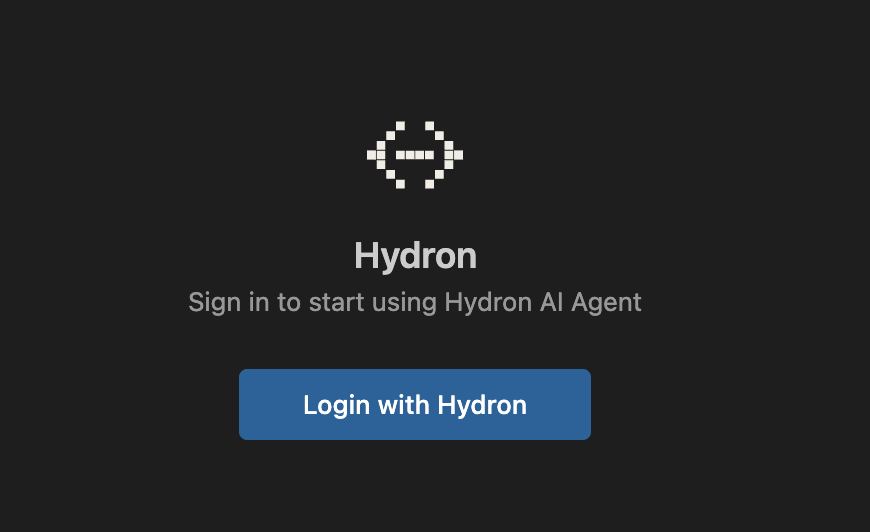

Create an account if you don't have one already, or sign in.
Once the browser shows Authentication Complete, return to VS Code or your terminal.
Step 3: Index and ask
Before Hydron can write or explain firmware, it needs to see your local files.
Type /init in the chat input and press Enter. Hydron instantly scans your C/C++ workspace, maps your directory structure, and reads your hydron.md file to learn your project's baseline rules.
Then type your first prompt:
"Walk me through the main entry points and which hardware peripherals are being initialized."
That's your first hardware-aware answer. Next, give Hydron your actual hardware context.
Tip
If you only want to ask about a single file without indexing the whole project, type @ followed by the filename (e.g., @src/main.c) to pull it directly into the chat.
Next Steps: Unlock hardware-grounded answers
Set up the Project Dashboard to give Hydron your platform docs, schematics, and codebase. Every answer after that is grounded in your exact stack.