Project Dashboard
The Dashboard is your Mission Control for hardware context. Build your project's architecture here by visually selecting platforms, peripherals, and adding your datasources. Once configured, your CLI and VS Code extensions instantly sync with the full stack.
Step 1: Authorize Hydron
VS Code: Open the chat pane, click the project dropdown at the bottom, and select Create project. Your browser will launch the dashboard for setup.
CLI: Run hydron to authenticate. Next, log in at hydron.h2loop.ai to configure your hardware project. Back in the terminal, press Ctrl+Shift+P to select it.
You're in. Now give Hydron something to work with.
Step 2: Create Your Project
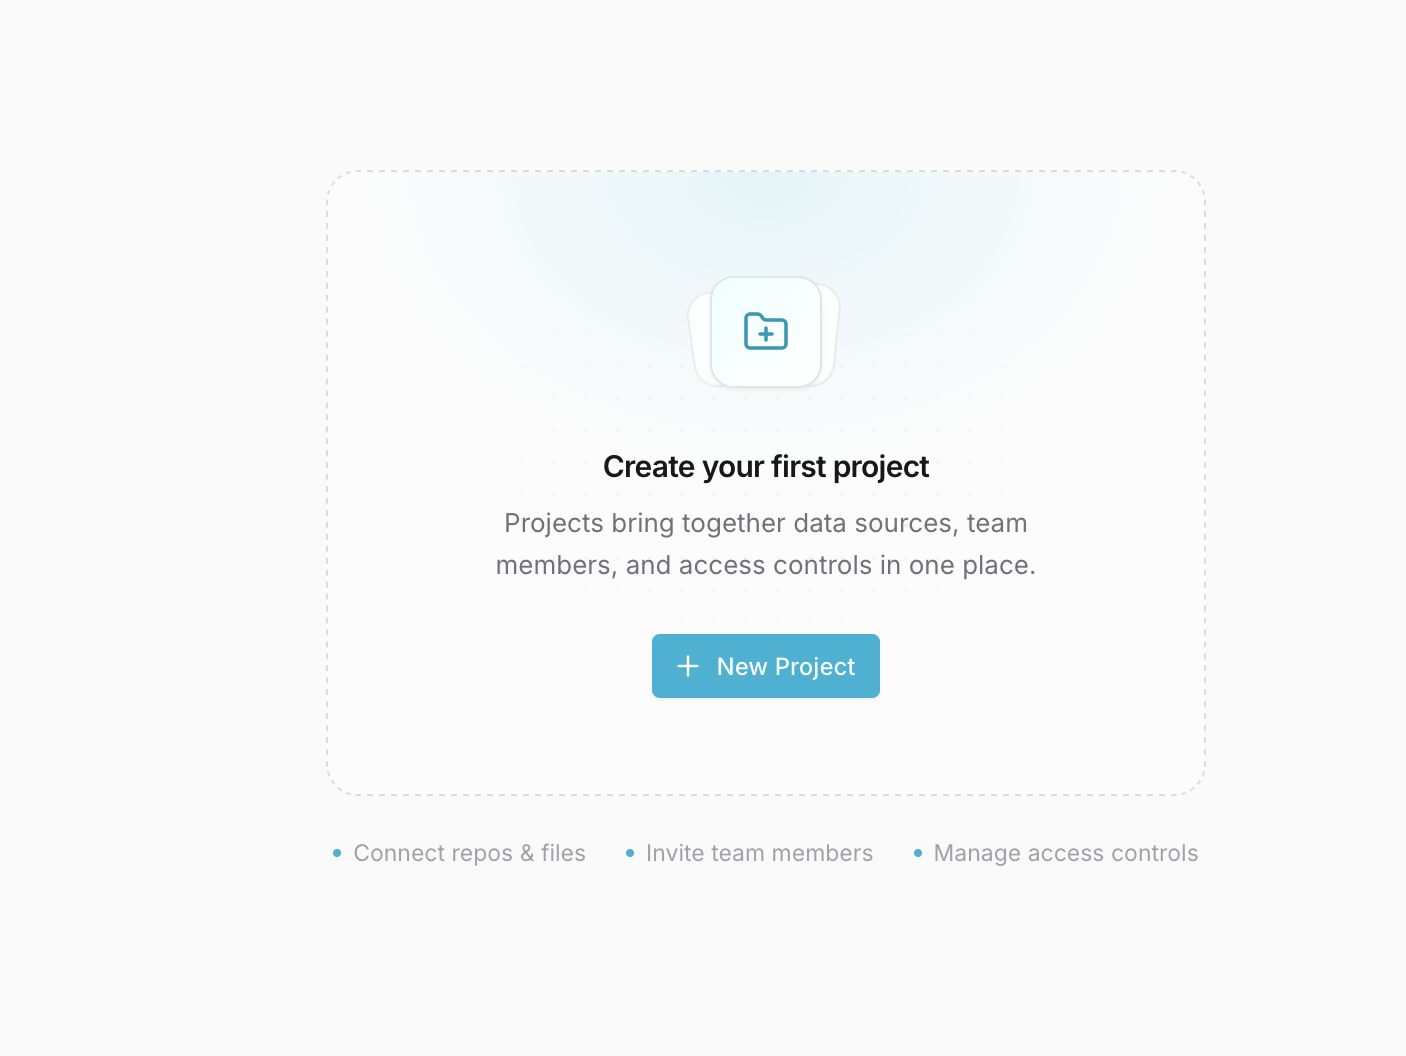
Click Create Project and give it a name that matches your hardware target. It shows up in the project dropdown across your CLI and VS Code extension, so keep it specific enough to find fast.
Once created, click on your project.
Project created. Now teach Hydron your hardware.
Step 3: Select Your Platform & Peripheral
Click on HW Registry and select the platform and peripherals your project uses.
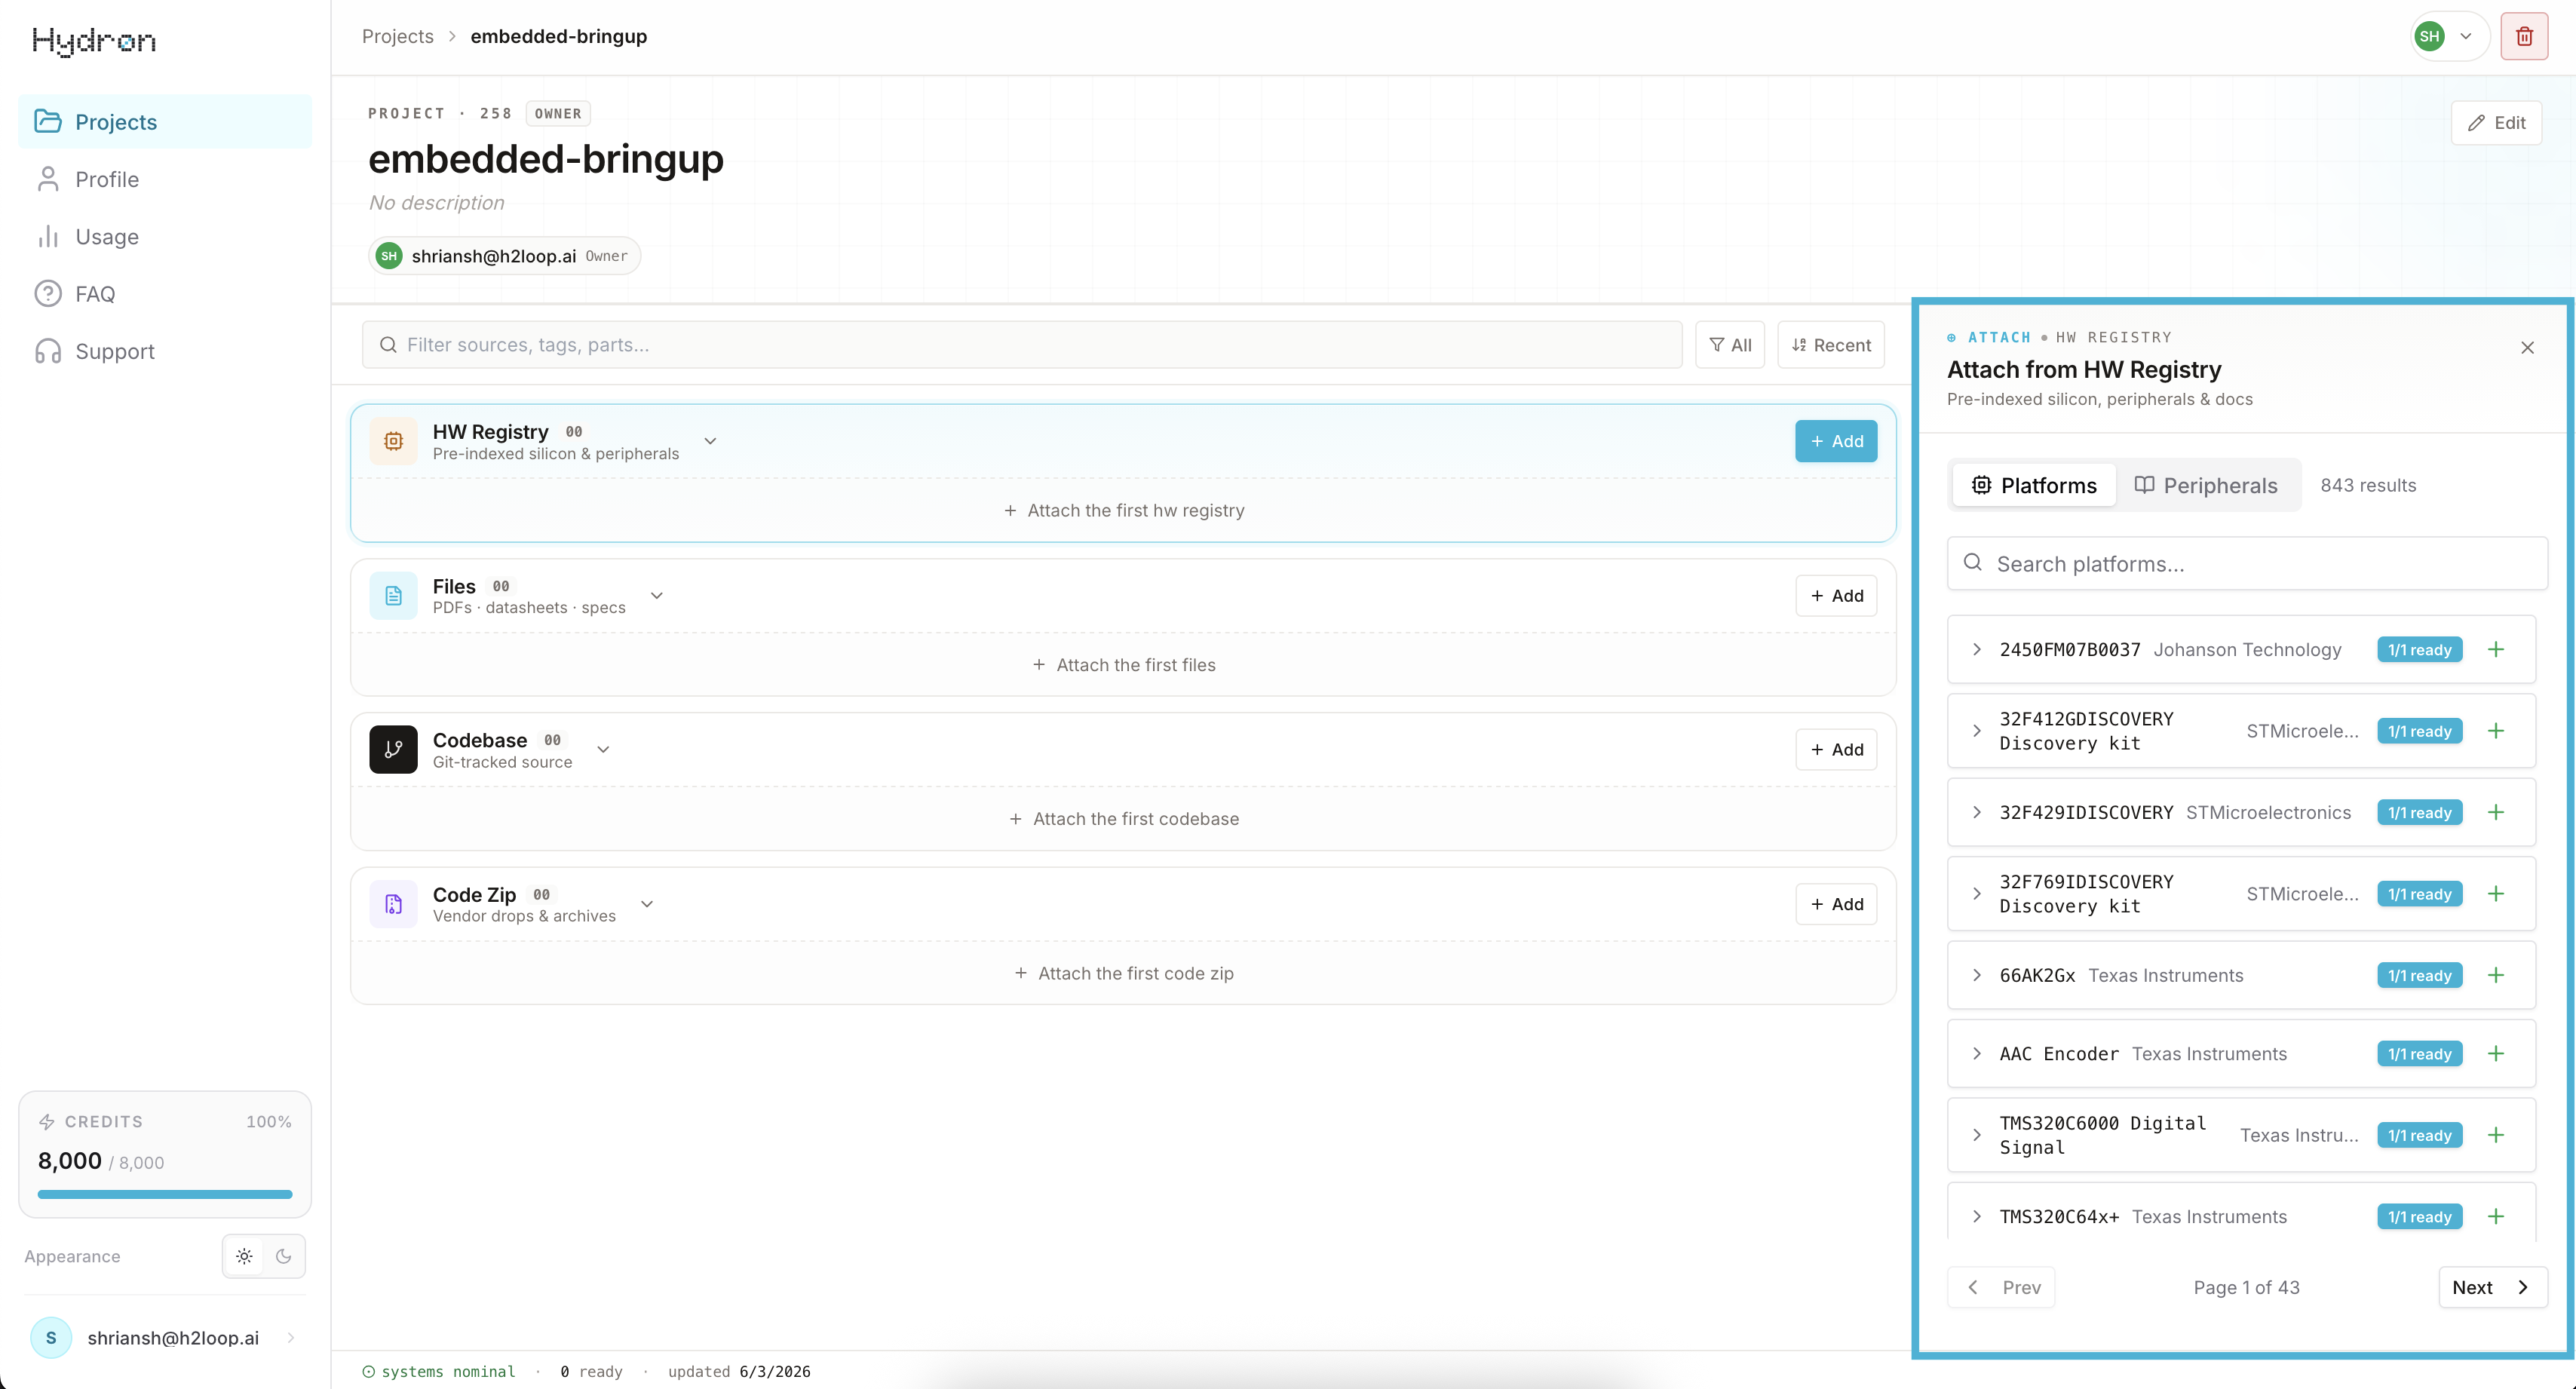
Pre-ingested docs. Each selection pulls in vendor datasheets, reference manuals, and errata automatically.
Verify before you prompt. Confirm the revisions match the parts on your board. Vendors ship multiple datasheet versions per chip, and the wrong revision will lead Hydron astray.
Fill the gaps. Anything the catalog cannot know about goes in the next step: board schematics, custom HAL specs, internal design docs.
Platform docs are indexed. Now bring in what makes your project unique.
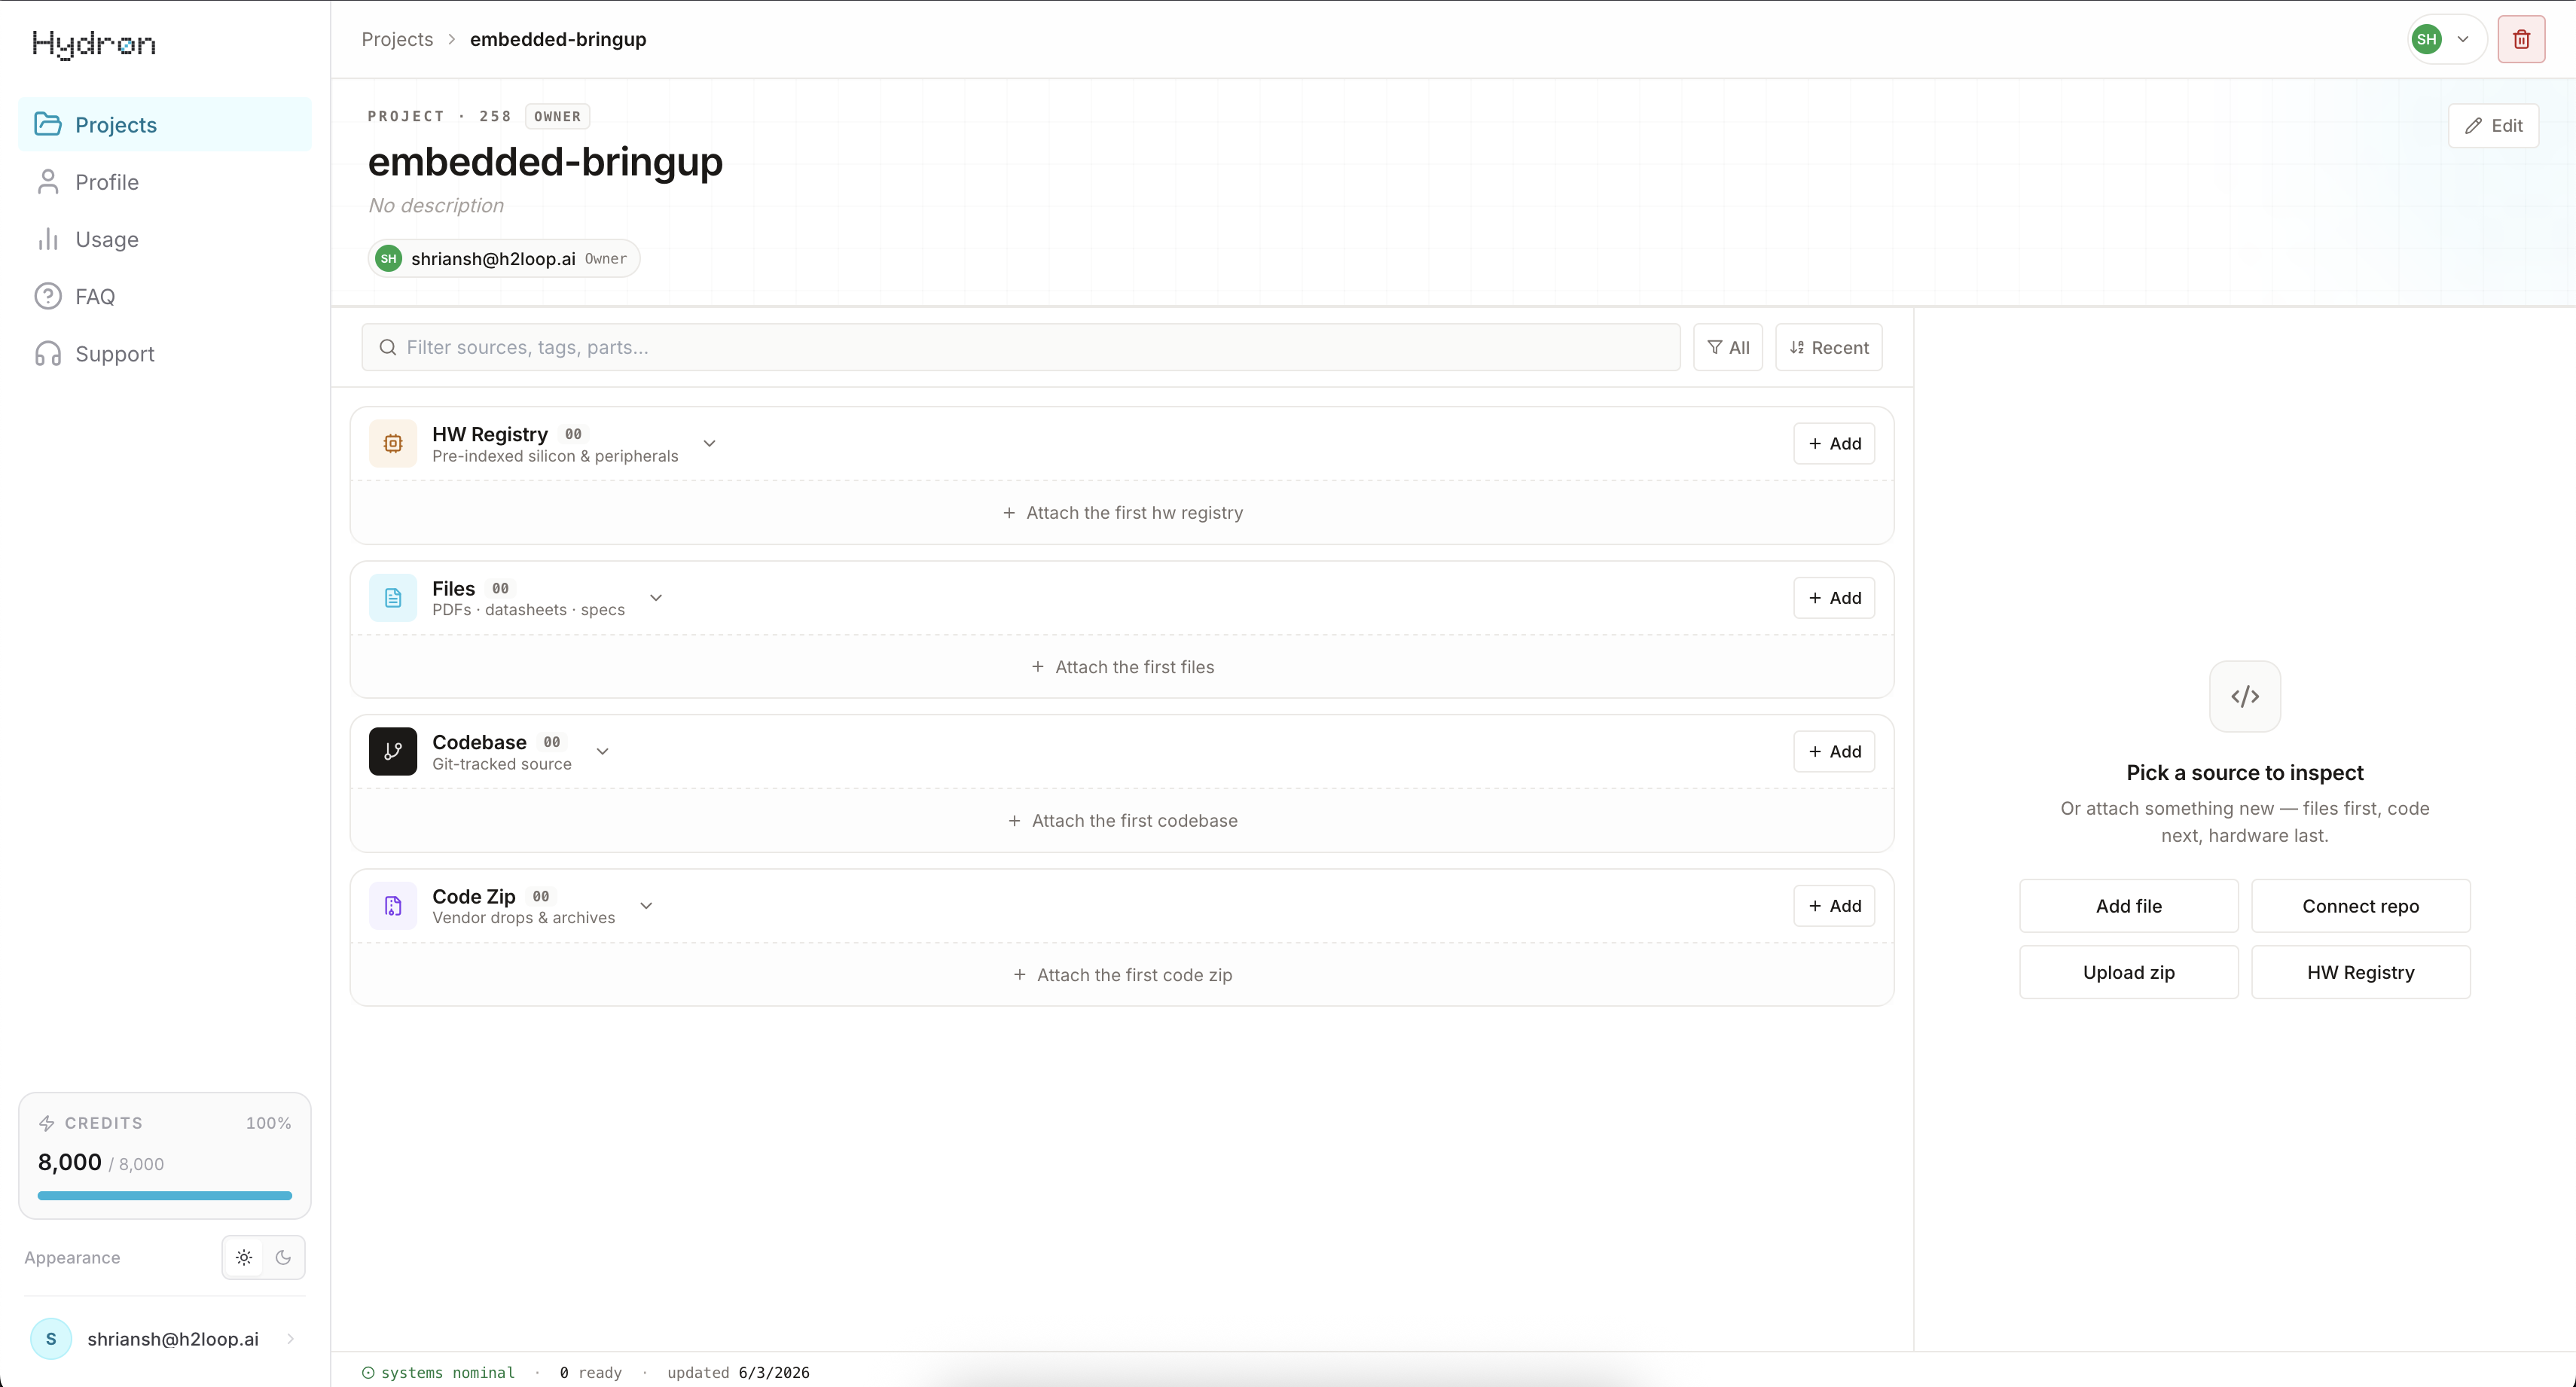
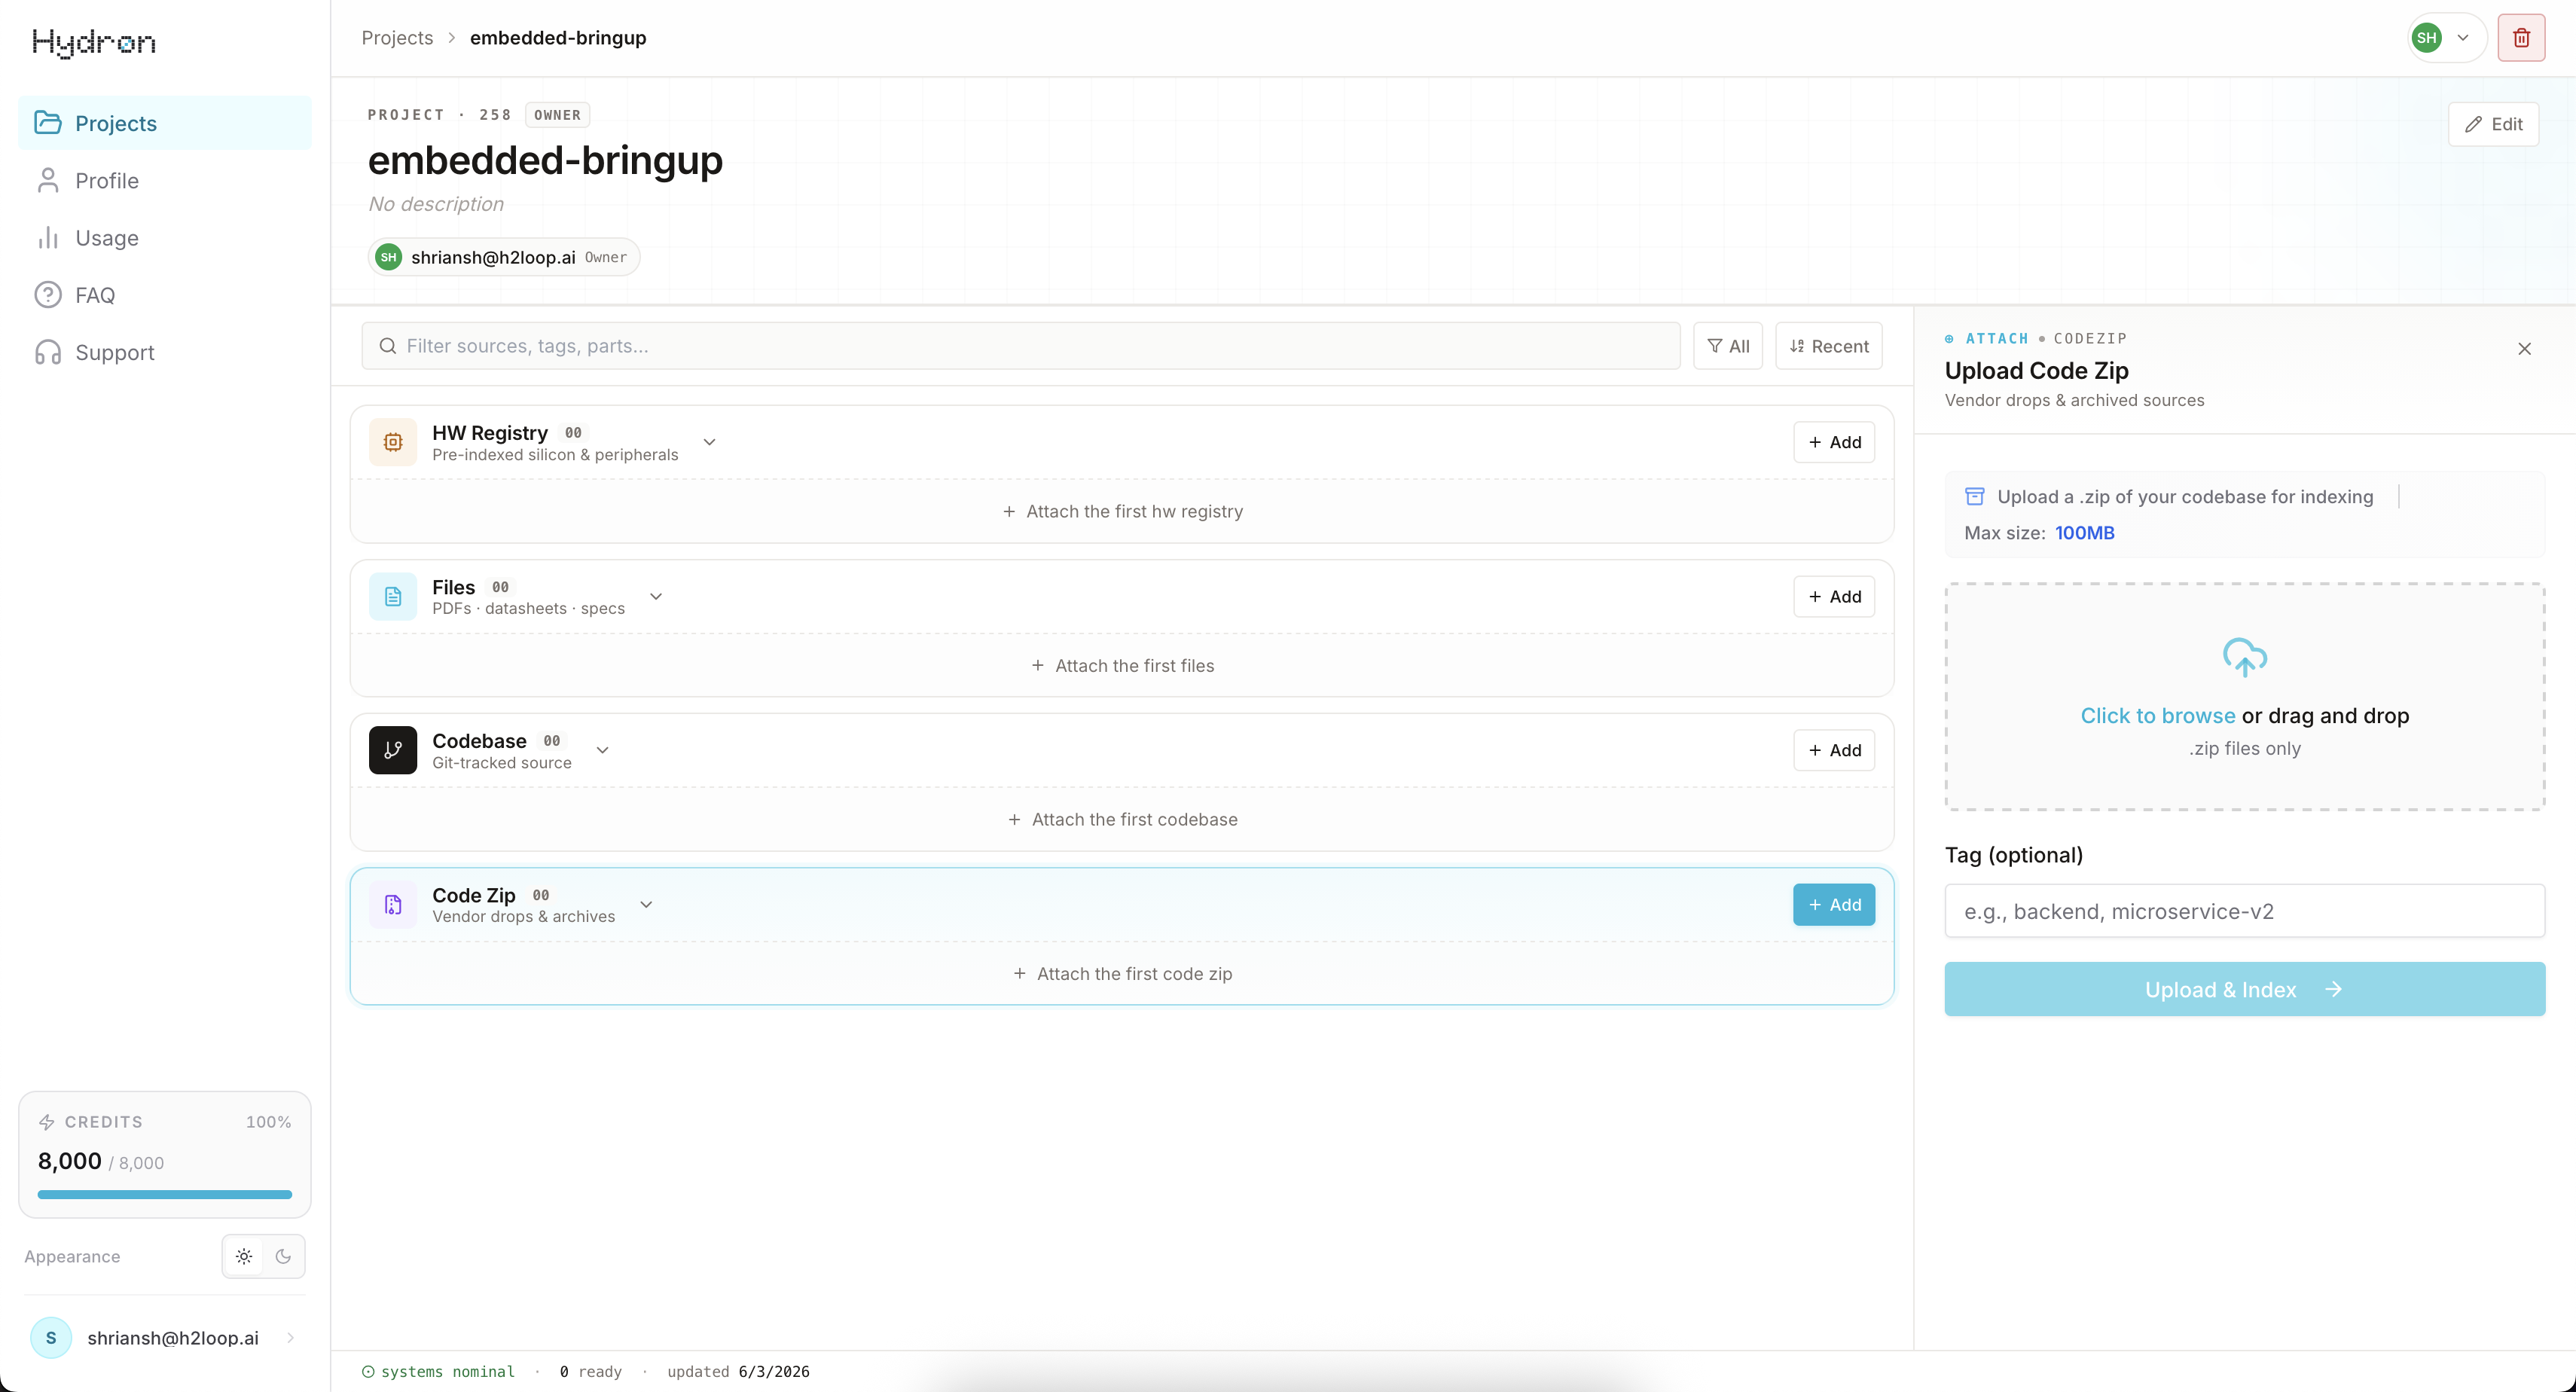
Step 4: Add Your Datasources
Codebase: Paste a GitHub repo URL (public or private). For private repositories, Hydron will prompt you to authorize via a GitHub personal access token (requires repo scope). Or upload a zipped codebase to be indexed directly.
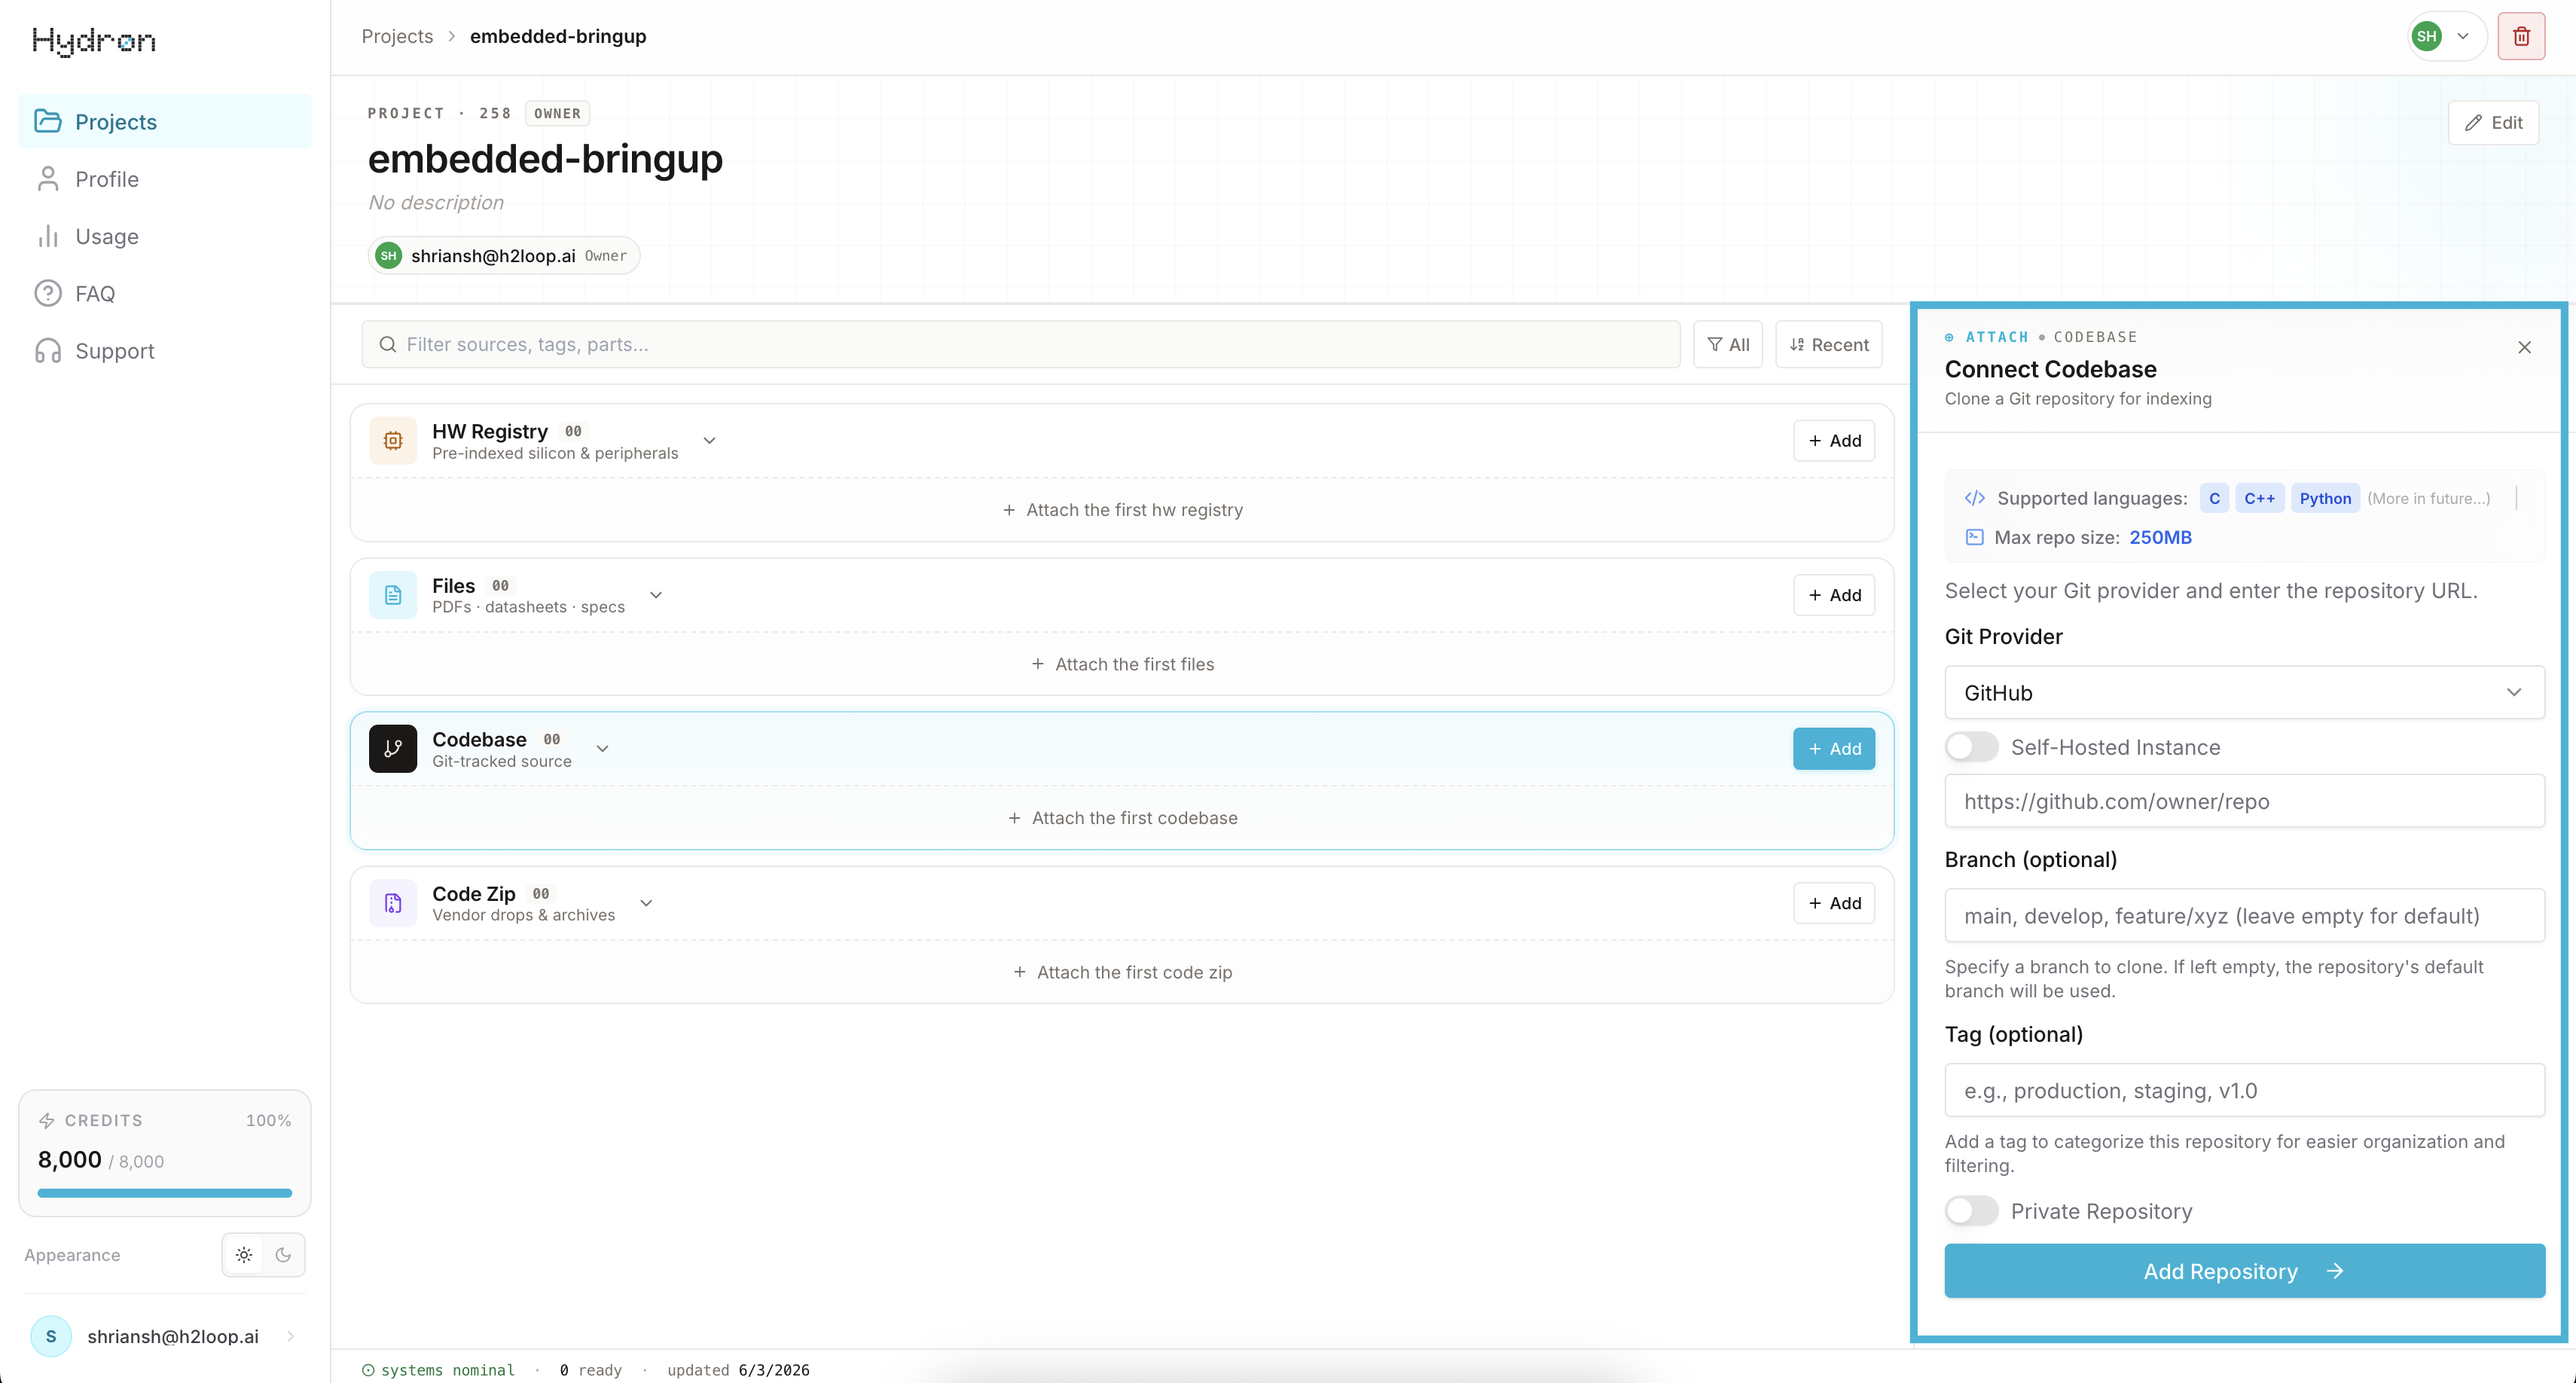
Tip
Have your repository cloned locally. Hydron needs the files on disk to reference your active working directory and pick up uncommitted changes.
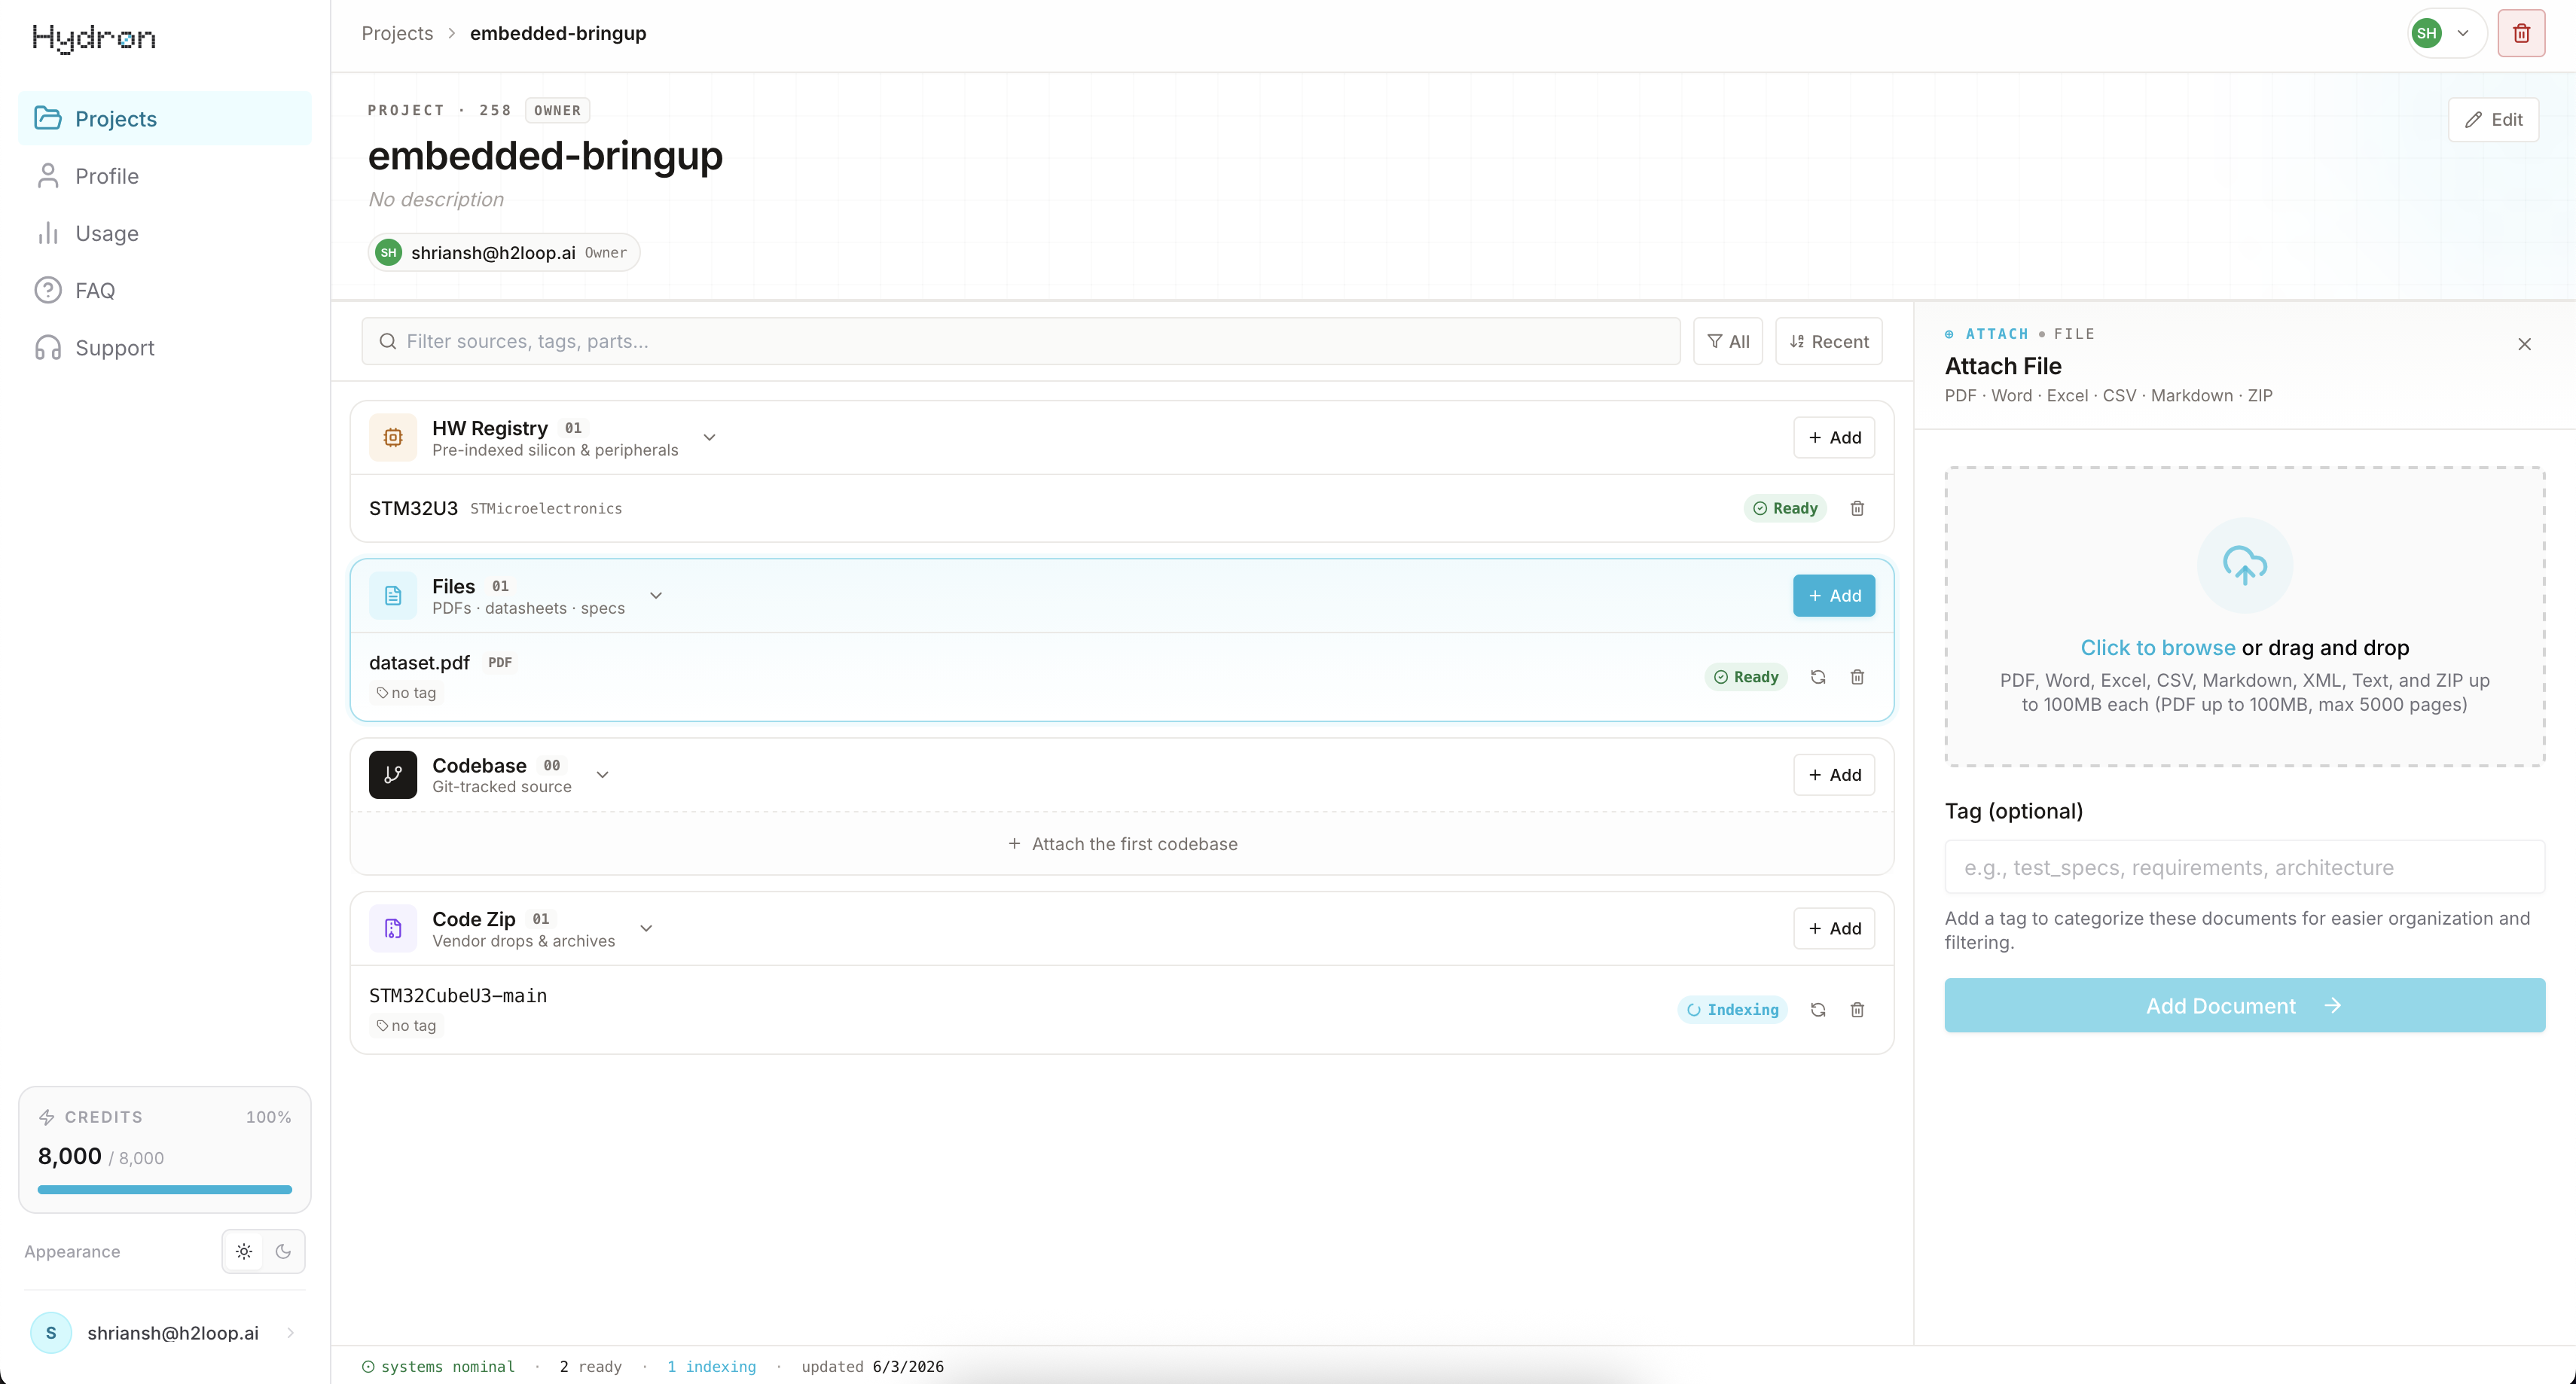
Files: Upload any artifact that defines your hardware or software stack: datasheets, reference manuals, schematics, BOMs, application notes, or proprietary specs.
| Format | Limit |
|---|---|
| GitHub Repository | Up to 50 MB |
| Up to 100 MB, 5,000 pages | |
| Word, Excel, CSV, Markdown, XML, Text | Up to 500 MB each |
| ZIP | Up to 500 MB |
Tip
Even if your platform is in the Catalog, adding your own board schematics, errata sheets, or internal specs makes every answer more specific to your exact hardware variant.
Everything you add here flows into every prompt you run across the CLI and VS Code extension.
Hydron knows your stack. Now share it with your team.
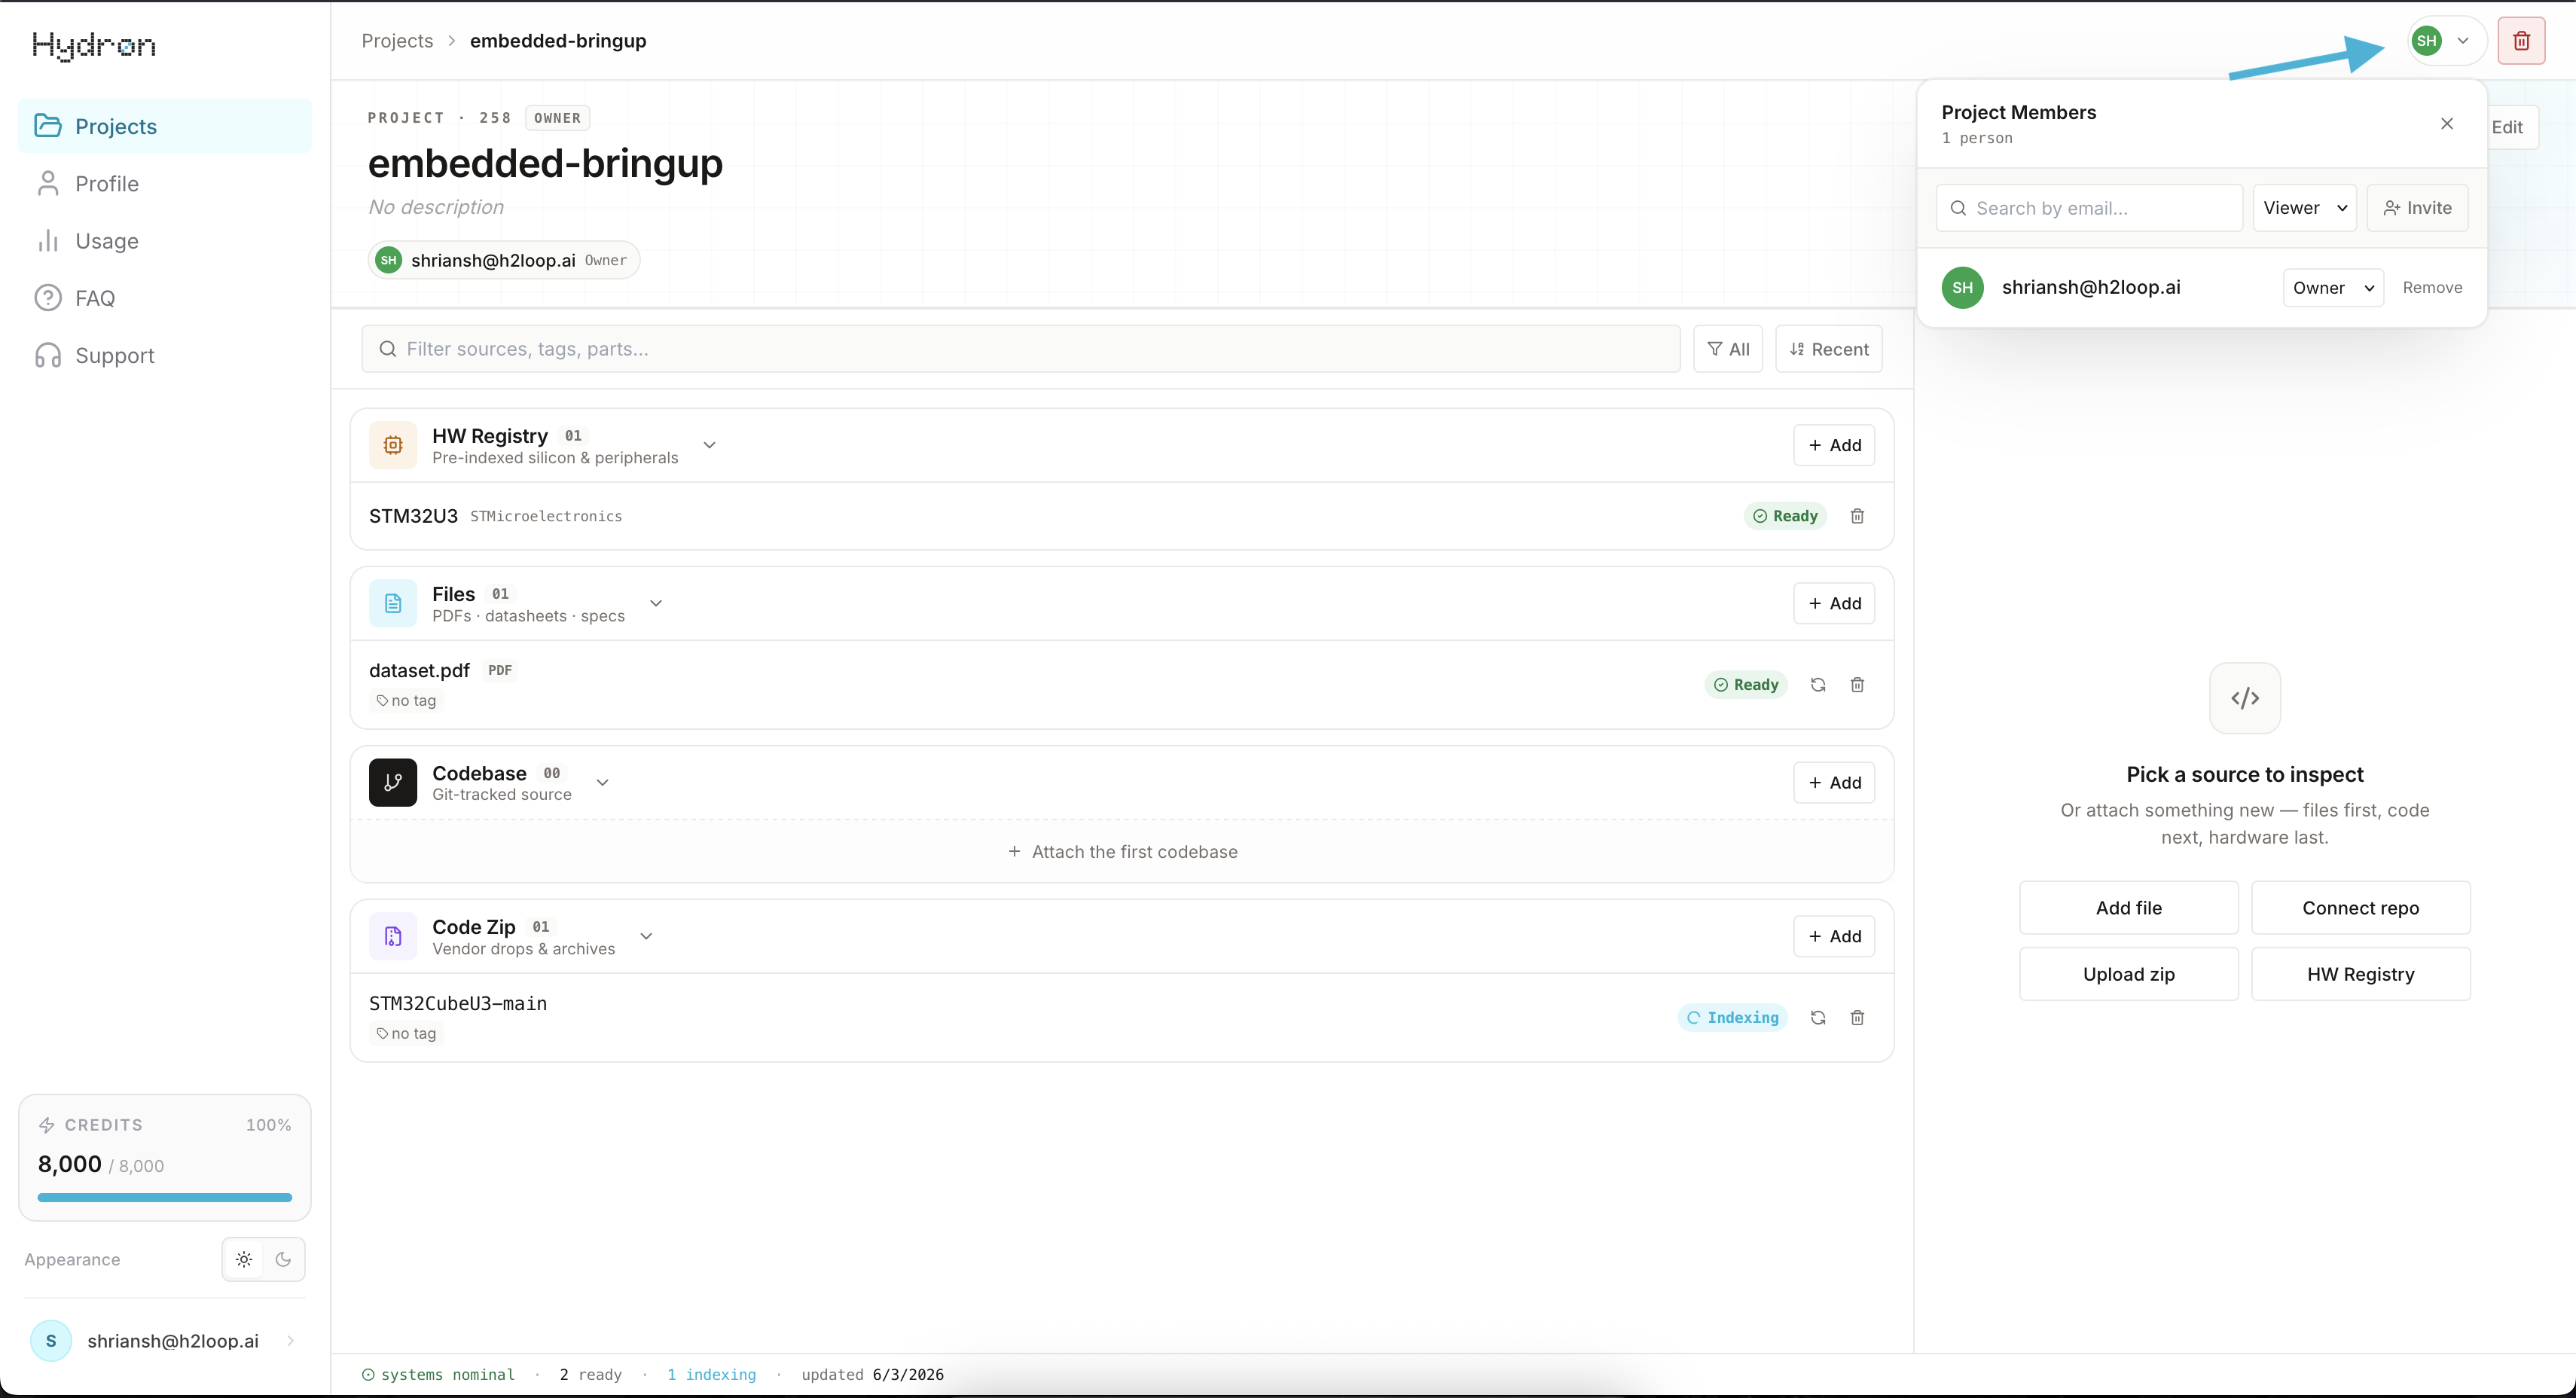
Step 5: Bring In Your Team
Click Members and invite your team. You can only add members within your organization. Assign each member a role:
- Owner: full access, can delete the project
- Editor: can add and remove datasources
- Viewer: read-only access
Everyone inherits the same context the moment they join: same catalog, same files, same indexed codebase. A new engineer is up to speed before they write a line.
Your project is ready. Head back to the VS Code Extension or CLI and select your new project to start asking.